Monday, October 12, 2009

Making self-watering containers out of buckets.

I use a lot of recycled materials in my small garden including 1.5L soft-drink bottles, 1L yogurt containers, 3L ice-cream containers and 20L buckets for raising seedlings and for growing out various crops. The following steps outline how to construct a very effective self-watering container from a 20L bucket and a product I have recently discovered.


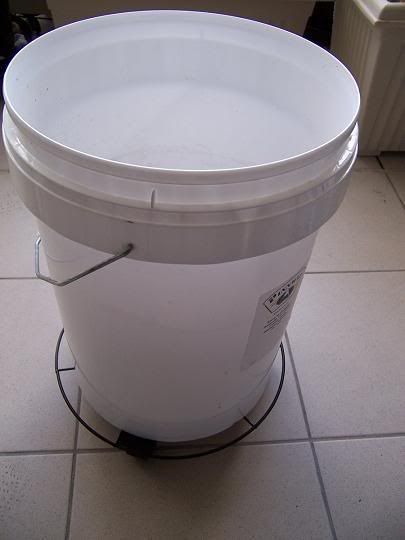
Step 1: Of course is to collect and thoroughly clean a bucket, in this case I have a couple of 20L buckets sourced from a bakery.

Photobucket


Step 2:
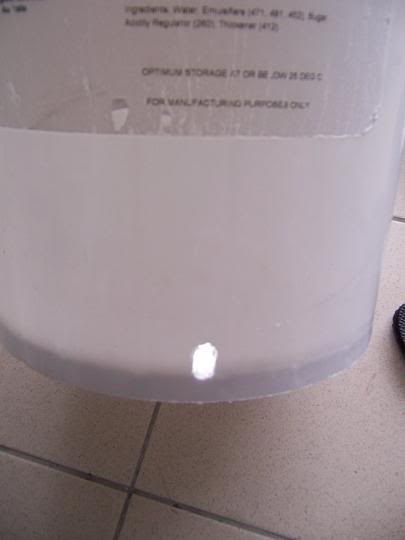
Drainage holes need to be cut into the bottom of the bucket for instances when the self-watering reservoir overflows. I didn't have a drill so I just used a sharp knife to twist drill a couple of holes into one sufficiently large hole.

Photobucket


Step 3:
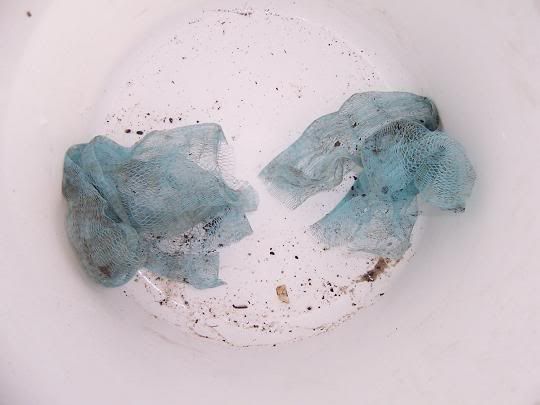
The holes need to be covered sufficiently to allow water to flow out but to keep your soil in. A thin layer of coarse gravel would be ideal but I've opted to recycle a couple of 'body scrub sponges' that I've uncoiled.

Photobucket


Step 4:
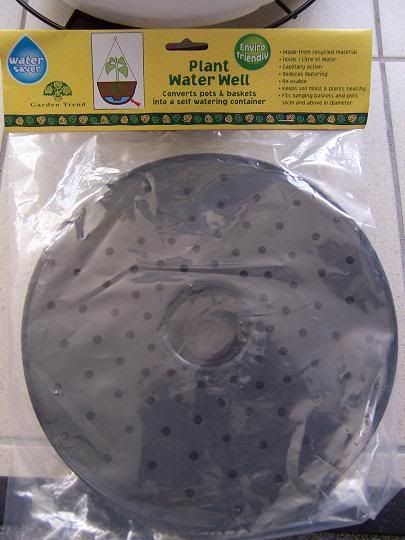
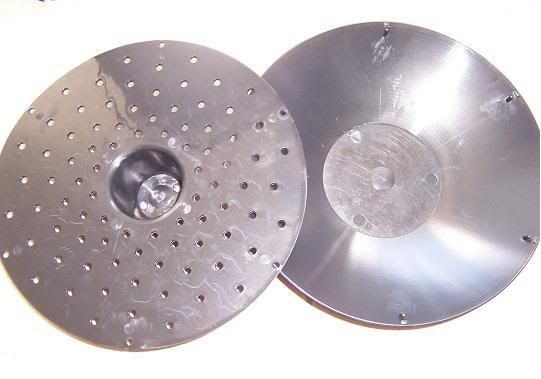
I recently discovered this product at my local nursery which for $4.80 saves me a lot of time setting up my own dodgy self-watering insert! Basically it's just a bowl with a flat perferoted lid that can collect water at the bottom of your container, which can be utilised by roots when required.

Photobucket

Photobucket


Step 5:
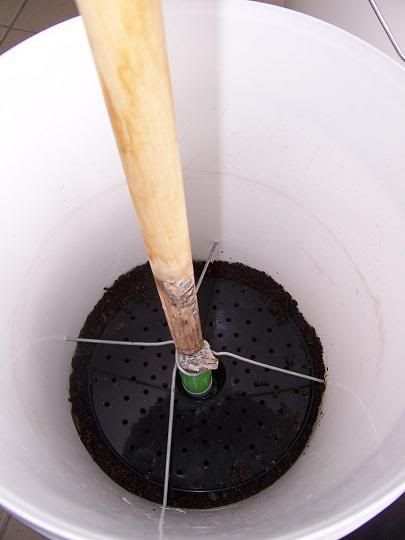
I place a thin layer of soil in the bottom of the bucket to accommodate and stabilise the plant water well and then because I'm growing plants that need supporting I've inserted an old broom handle and stabilised it with some wire also sourced from the bakery.


Photobucket


Step 6:
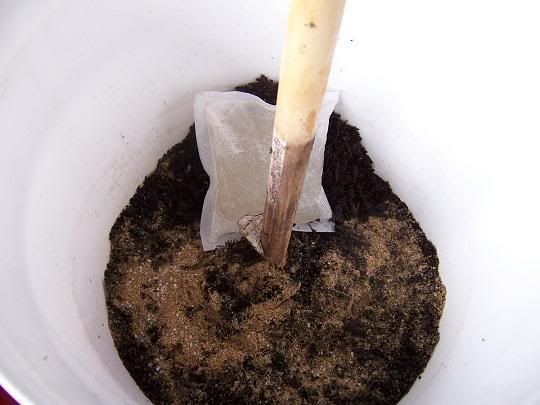
Then as I do with all of my containers I add a few layers of soil with blood and bone, Water-Storage Crystals and a Rechargeable Solid Water bag as outlined here: http://veggie-might-sp8.blogspot.com/2009/08/water-management.html


Photobucket


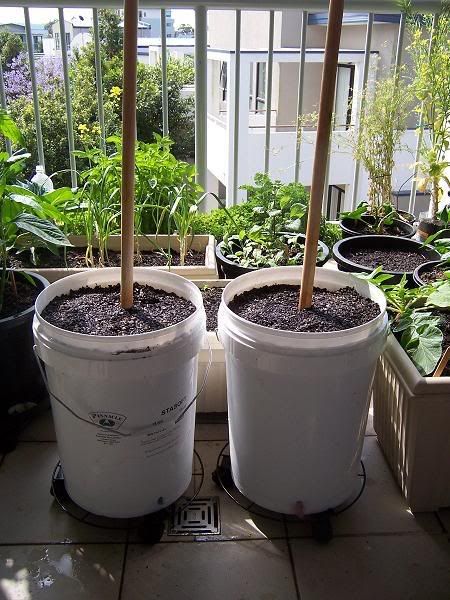
The Finished Product

Photobucket


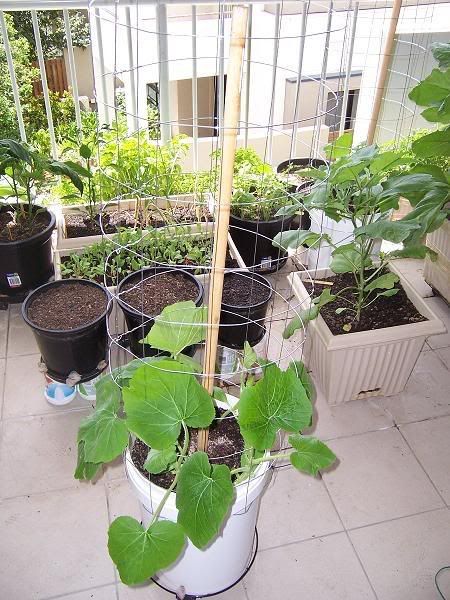
Knock together a trellis from some cheap fencing and you double the range of vegies you can grow in them.
Photobucket


Sunday, October 11, 2009

Zucchini

Photobucket

Lebanese Zucchini

What: Seed (D. T. Brown).
Where: 20L Bucket modified to a self-watering container
When: 12 October 2009.

Sown in: Yates Premium Seed Raising Potting Mix.
Fertiliser: Thin layer of RICHGROW: Organic Blood and Bone + Trace Elements & Sulphate of Potash 100mm below surface.

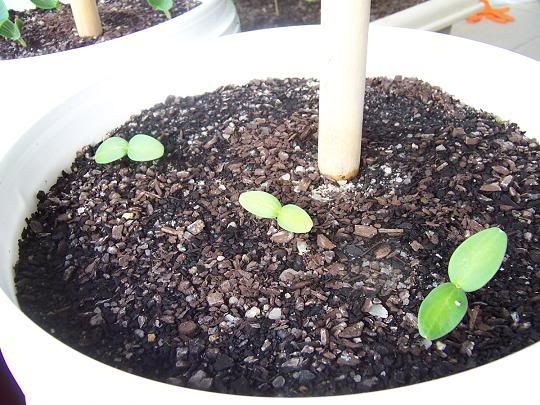
Advertised Germination: 6 - 10 Days.
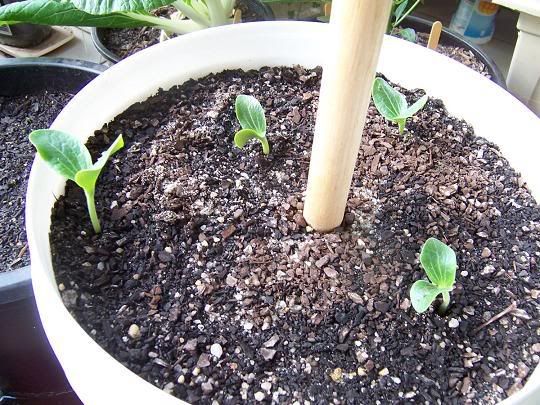
Actual Germination: 6 Days.

Advertised Maturity: 8 Weeks.
Actual Maturity:

19 October 2009

Photobucket


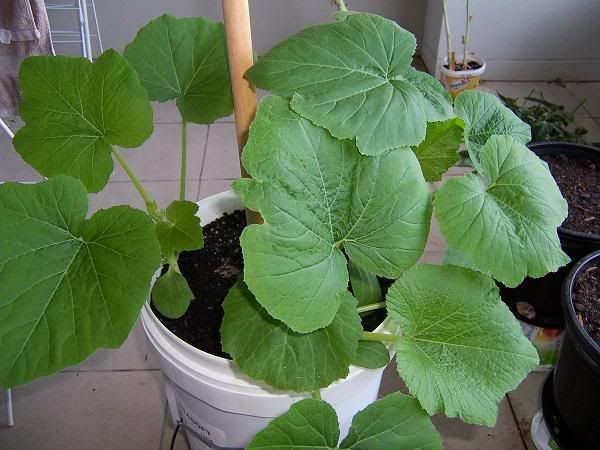
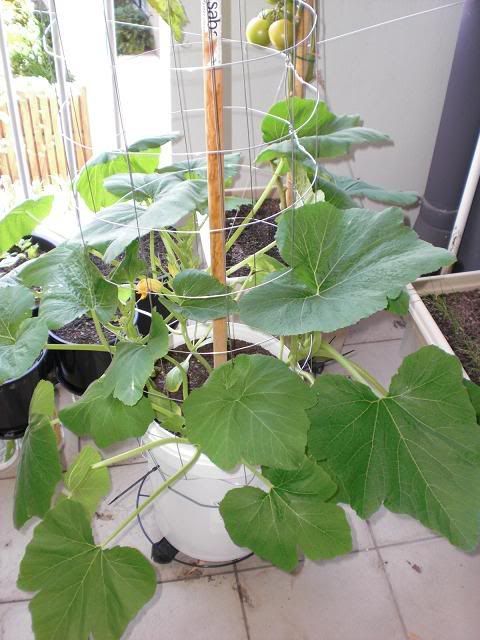
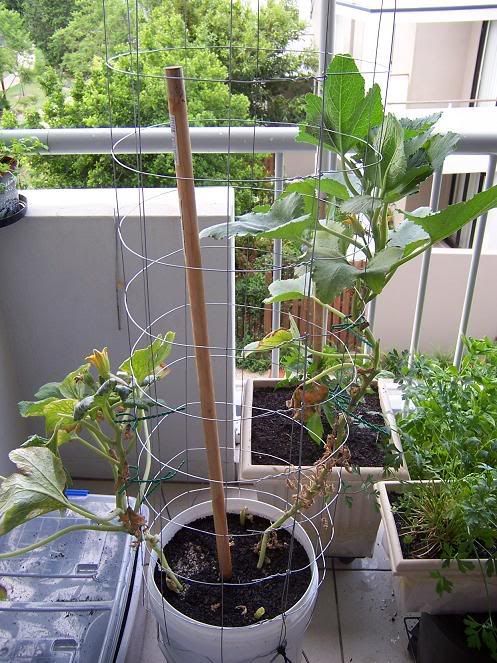
It's starting to get very crowded in here! Lots of flower buds on the way though.

7 November 2009

Photobucket


20 November 2009

Photobucket

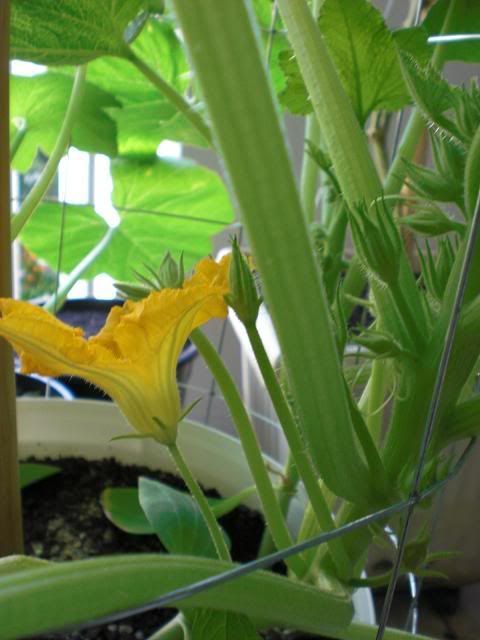
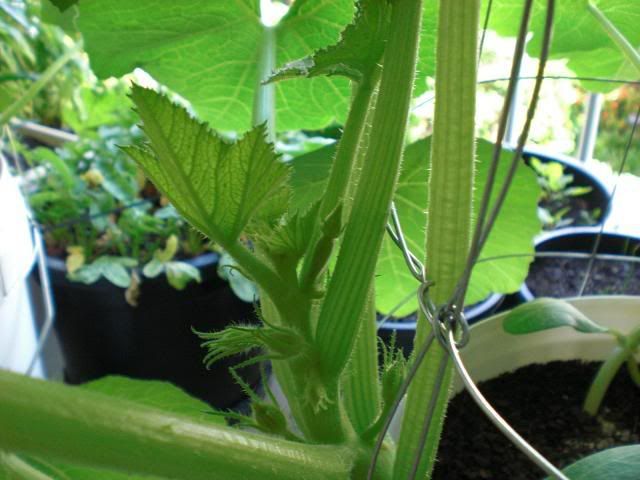
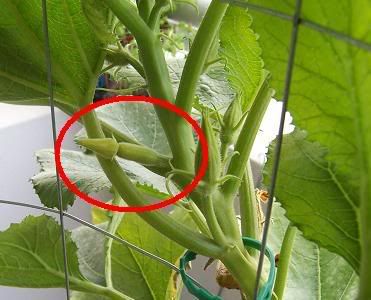
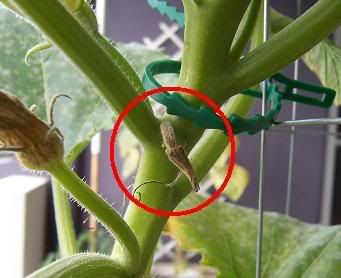
It's quite easy to see the difference between the male and female flowers even at this early stage:

Photobucket

Photobucket

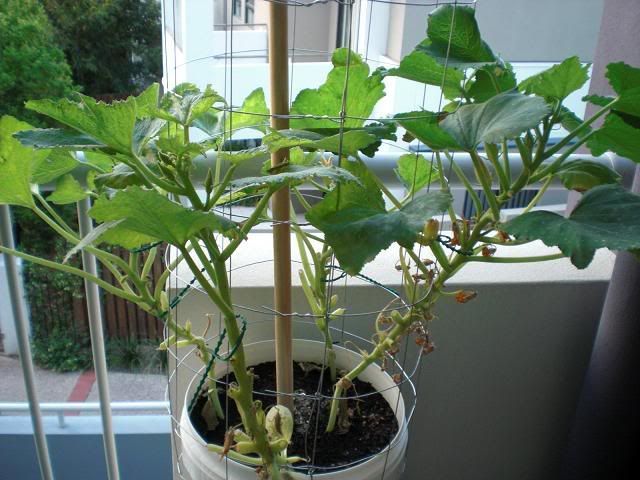
These plants were in a position that had very limited sunshine and as such started to get mouldy leaves and what not. I pruned off all of the mouldy leaves and raised it up to get some sun but so far there's been nothing but a steady stream of male flowers developing. There looks to be a few female flowers forming but they shrivel and die long before they even look like blooming.....

10 December 2009

Photobucket

I lost two of the plants, one is on the way out but the last has had a growth spurt! Despite its growth I've got nothing to show for my efforts. There have been a bunch of female flowers but they shrivel and die before getting anywhere near blooming...

27 December 2009

Photobucket


THE ZUCHINNI BLUES.......

I planted 4 zuke seeds about 10 weeks ago and so far have zip to show for my efforts >_<

I haven’t had any trouble growing lots and lots of these:

Photobucket

But for no apparent reason they quickly turn into these:

Photobucket

Cucumber

Photobucket

Lebanese Cucumber

What: Seed (D. T. Brown).
Where: 20L Bucket modified to a self-watering container
When: 12 October 2009.

Sown in: Yates Premium Seed Raising Potting Mix.
Fertiliser: Thin layer of RICHGROW: Organic Blood and Bone + Trace Elements & Sulphate of Potash 100mm below surface.

Advertised Germination: 6 - 10 Days.
Actual Germination: 6 days.

Advertised Maturity: 8 Weeks.
Actual Maturity: 7 Weeks.


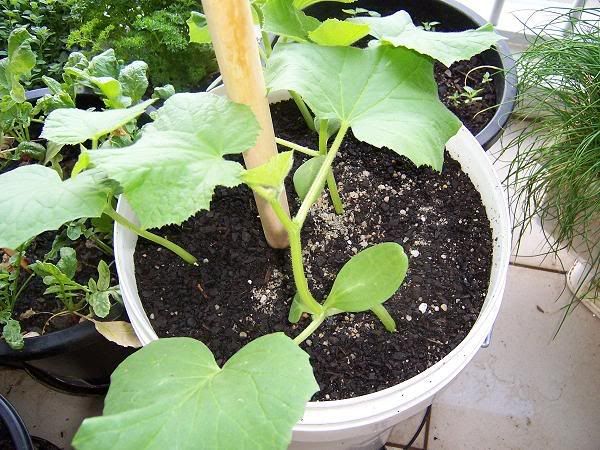
19 October 2009

Photobucket


It's time to knock together some sort of trellis for these plants I think.

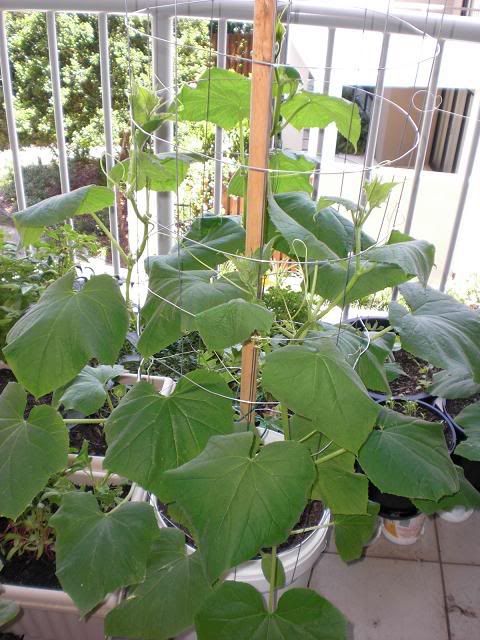
7 November 2009

Photobucket

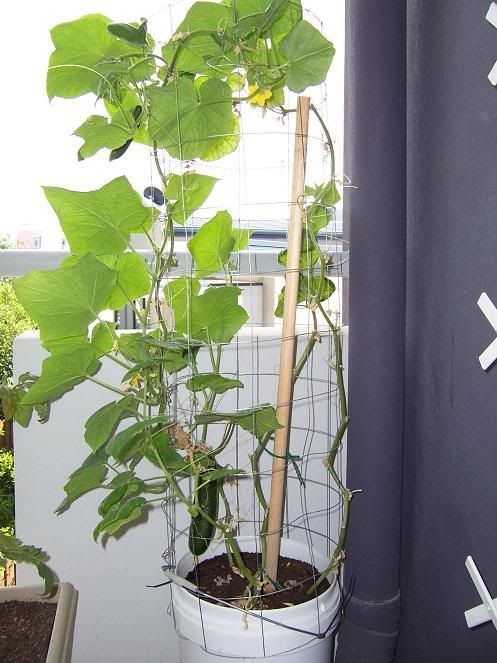
Trellis is up and just in time! It looks like I'll have to extend it if these plants keep growing so fast. Lots of flowers and a few cucumbers on the way if I've hand pollinated them correctly that is.

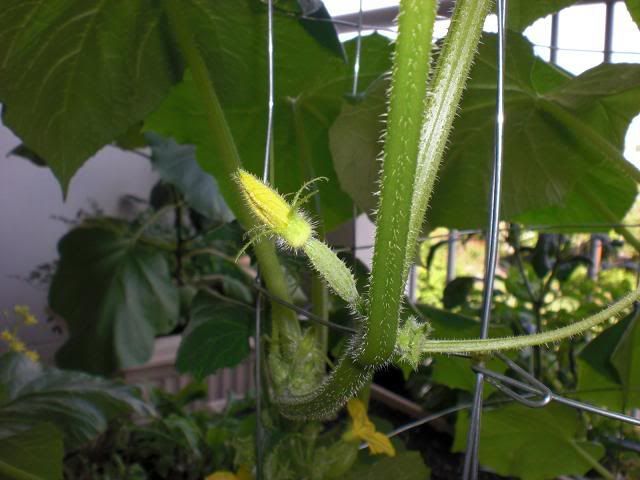
20 November 2009

Photobucket

Photobucket

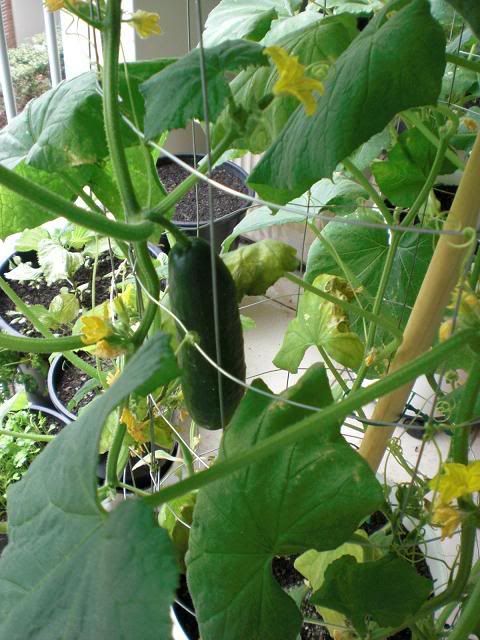
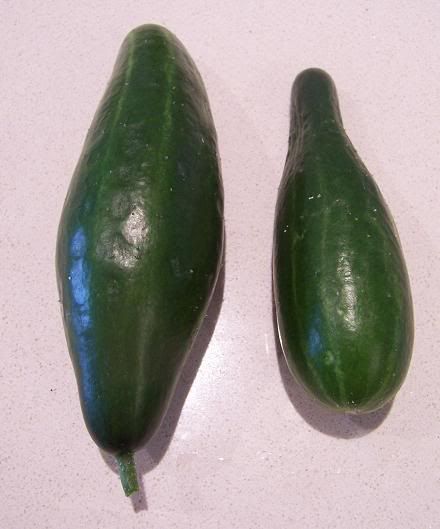
It didn't take very long for that cuke to go from the above shot to this!:

1 December 2009

Photobucket

Despite a desperate lack of sun there are plenty more like this on the way, they are yummy too!

7 December 2009

Photobucket

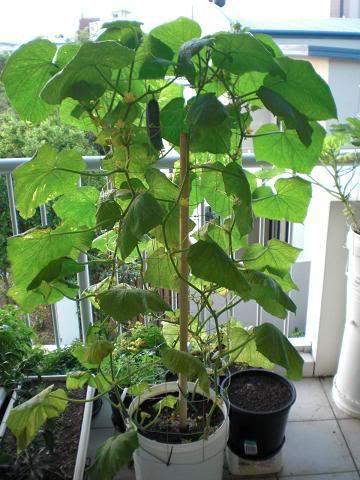
These plants don't get much sun but they are producing well and look quite healthy!

10 December 2009

Photobucket

The lack of sun hasn't done these plants any good and they have lost a lot of leaves, however what remains is still producing ok for the time being.

27 December 2009

Photobucket

These plants started to suffer badly from powdery mildew so I cut off all of the foliage and after 2 weeks and a dose of liquid fertiliser side shoots have taken off and are producing more and larger cucumbers than ever.

17 January 2009

Photobucket